Build a small, reliable workshop first. Add collection, buffers and a clear output before increasing speed. The repaired October 4 production routes pass the main static dependency check; read the results and remaining tests before extending the factory. The recipes linked here follow the repaired T&K3 tiers; the videos show general Create layouts and may use older Minecraft versions.
A practical build order
| When | Build next | Why it helps |
|---|---|---|
| Before a workshop | Vanilla hopper, chest, small kelp and wheat plots | Gather and store the first ingredients |
| Tier 1 | Manual Rotation Machine → water wheels, press, basin, mixer and deployer | Start rotation and unlock efficient material production |
| Tier 1, after assembly | Mechanical Harvester, Saw, Bearing and a pair of Portable Storage Interfaces | Produce crops and wood without rebuilding the farm later |
| Tier 2 | Hydraulic machines, slime mixer and Pickup Upgrade | Connect water and collect drops at a container |
| Tier 3 | Brass filters, Precision machines and Magnet Upgrade | Sort outputs and prevent unattended farms from clogging |
| Tier 4 | Certus growth, printed circuits, processors and Calculation production | Establish AE2 and retain press/Boot Medium tooling |
| Tier 5 | Steel, first generator, Infuser and ore refining | Add FE processing alongside Create |
The machine frame is a construction ingredient. Use the working machine constructor in the catalogue; the first Press, Mixer and other machines have their own parts and recipes. A Rotation Machine sitting in the world does not generate rotation or harvest crops.
Collection: choose the right upgrade
| Collector | Earliest point in this pack | What it actually does | Useful placement |
|---|---|---|---|
| Vanilla Hopper | Before Create | Collects loose items over its opening and transfers inventory contents | Under a drop point or furnace |
| Sophisticated Hopper Upgrade | Tier 1, after your first Rotation Mechanism | Pulls from the container above and pushes into the one below | A vertical input → upgraded storage → output stack |
| Sophisticated Pickup Upgrade | Tier 2 | Collects filtered item entities that touch the storage block | At the end of a drop chute |
| Sophisticated Magnet Upgrade | Tier 3 | Collects filtered nearby item entities | Beside a bounded collection area |
| Advanced Hopper / Pickup / Magnet | Tier 3 | Adds the corresponding advanced controls; Hopper can select sides | Sorting and controlled transfers |
A Hopper Upgrade is not a vacuum. For loose drops in tier 1, use a vanilla hopper; for contact collection use Pickup, and for collection over an area use Magnet. Magnet range and upgrade speed depend on the installed configuration.
◆ A SIMPLE TIER 1 TRANSFER STACK
- Craft a Sophisticated chest or barrel with a free upgrade slot. A vanilla chest cannot accept its upgrades.
- Make the T&K3 Upgrade Base: two Iron Sheets, two planks and one Rotation Mechanism, in the listed shaped pattern.
- Make the native Hopper Upgrade: one hopper, two iron ingots, the Upgrade Base and three redstone dust. Redstone can be mined before renewable Scoria production.
- Put an input inventory above the upgraded storage and an output inventory below it. Basic Hopper transfer is top → bottom.
- Add a vanilla hopper at the loose-item drop point if needed. Feed one item through before leaving the build running.
To keep the middle container as a buffer, disable unwanted transfer or arrange the output so only the intended process receives items. At tier 3, the Advanced Hopper Upgrade can choose input and output sides. Storage and backpack upgrades are different items: use the module for your actual container.
Visualise Upgrade Base · Visualise Hopper Upgrade
Rotation: power before speed
Use the first frame to stonecut three Water Wheels, or a different machine from its recipe. You receive that selected output, not the entire workshop. Supply the wheels with flowing water, connect shafts and add machines one at a time.
RPM controls working speed; stress capacity limits how much the network can drive. Gearing for more RPM also increases the stress of many attached machines. If a network becomes overstressed, slow or disconnect a branch and add capacity before expanding it. More speed is not the solution to every bottleneck.
Use a Clutch when you want to stop a branch while leaving the rest of the workshop running. Place a buffer before a slow machine. In-game Create Ponder, available by holding W over supported Create items, explains the physical placement and rotation of the native blocks.
Crop farm: wheat, carrots and potatoes
Tier 1. A small rotating arm is an accessible first farm. The support arm and Harvesters sit at different heights: the arm runs above the plants; the Harvesters hang at plant height. Start with vanilla crops; test unfamiliar modded crops on a short arm before planting a whole field.
Parts: one Mechanical Bearing; a glued arm or chassis; Harvesters covering your chosen rows; one attached chest or barrel; rotation; and, for automatic unloading, two Portable Storage Interfaces plus a receiving hopper or funnel.
- Prepare a hydrated, well-lit field and plant the crop. Leave room for the arm to pass across the plants.
- Point the bearing upwards and attach a glued central column and support arm. Mount Harvesters underneath the arm at crop height, facing the direction in which the arm moves.
- Glue the storage and all moving parts into the same contraption. Keep the receiving chest and hopper stationary.
- Supply rotation and assemble the bearing. Moving Harvesters harvest mature crops and reset supported plants when Create's replant setting is enabled. A stationary Harvester alone is not a working farm.
- Put one Portable Storage Interface on the arm and another on the fixed unloading point. Their faces must align as the arm passes, with one or two air blocks between them; start with one.
- Extract from the stationary interface into storage. It represents the inventories on the contraption while docked. The farm pauses for exchange and then continues.
Keep seeds available for expanding the field. Do not mill all wheat immediately: tier 2 slime production needs wheat itself. Slower rotation is usually sufficient while crops grow.
If it fails: check hydration and light; harvester orientation and height; glue on the chest; the replant configuration; aligned interfaces; and space in the output. A full chest can stop a perfectly good unloading station.
Build heights — a small bearing farm
Use a three-block harvesting radius for your first test. Hydrate the field within four blocks of a water source; the bearing occupies the centre, so place water beside it. Add light and leave the sweep clear.
| Layer | Placement | Check |
|---|---|---|
| Y = 0 — GROUND | Farmland, water and the upward-facing bearing | Feed the bearing from below; keep farmland hydrated |
| Y = 1 — CROP | Wheat, carrots or potatoes; moving Harvesters | The Harvesters pass through the plant layer, facing the direction of travel |
| Y = 2 — SUPPORT | Glued support arm and attached inventory | Hang the Harvesters underneath; connect the arm to the bearing with a glued central column |
Start with one mature crop in the sweep. Confirm HARVEST → REPLANT → MOVING STORAGE → FIXED STORAGE before extending the field. Hold W over the Mechanical Harvester and Portable Storage Interface for Create’s placement demonstrations.
Wood farm: cut, replant, reserve saplings
Tier 1 equipment; easier unattended sorting at tier 3. Use oak or birch for the first test. Larger and modded trees can need different spacing, growth clearance and cutting behaviour.
Parts: a Mechanical Bearing and glued arm; a Mechanical Saw for each cutting lane; Deployers for replanting; attached storage containing saplings; two interfaces for unloading; rotation; and an output buffer.
- Lay out dirt planting spots around the sweep. Leave enough light and air above them for trees to grow.
- Put moving Saws at the level of the lowest trunk block, facing into the path of the trees. The cut must disconnect the tree from the ground; cutting a higher log can leave a stump.
- Place Deployers to visit the cleared dirt. Their interaction target is two blocks in front of the block, at the sapling-space height above dirt. A Deployer facing downwards uses a different height offset; test the reach before gluing the arm.
- Set each Deployer's filter to the sapling you want. On a moving contraption, it takes matching items from the attached inventories and replants.
- Put an initial sapling supply in the moving storage. Check that a planted tree grows, is cut and is replanted before adding more lanes.
- Unload at the interface pair. Keep saplings on the contraption. In tier 1, empty logs manually for the first build, or add a vanilla sorting-and-return circuit. In tier 3, filtered brass extraction makes selective unloading much simpler.
For an unattended farm, the unloading system must leave or return planting stock. Pulling every item out with an unfiltered hopper eventually empties the saplings. Set aside a reserve before sending excess saplings elsewhere, and give sticks, apples and surplus drops a destination too.
Better plank yield
The pack's Saw routes cover 200 verified wood pairs. Most logs follow log → stripped log → six planks. Use the Saw's output filter when the same input has several possible results; its normal recipe cycling can otherwise make different products. Bamboo blocks give three planks. Some woods have no stripped counterpart and go directly to planks.
Wood recipe compatibility does not guarantee that every custom tree has vanilla growth or tree-cutting behaviour. Use the recipe catalogue for that wood's exact input and output.
Check the cutting and planting layers
| Component | Position / target | First test |
|---|---|---|
| SAW | At the lowest trunk layer, one block above the dirt | Cut one grown oak tree; no trunk stump should remain |
| DEPLOYER | Targets the empty sapling space above dirt, two blocks in front of its face | With the farm stopped, confirm the target height and reach |
| MOVING STORAGE | Glued to the same contraption | Load saplings before assembling; set the Deployer filter |
| UNLOADING | An aligned moving/fixed interface pair | Export logs while retaining or returning saplings |
Use ONE PLANTING POSITION. Watch a complete PLANT → GROW → CUT → REPLANT cycle. Check the Deployer’s two-block reach with in-game Ponder before extending the moving arm. Leave room for the tree canopy and keep planting stock out of general extraction.
Kelp, sugar cane and bamboo
These are good supply farms because the base plant can stay in place. Harvest the upper growth and keep the bottom plant for regrowth.
- Before Create: use a small manual plot, or a vanilla piston/observer design with hopper collection. Native redstone recipes remain the starting route.
- With Create: move a Harvester across the upper growth. For underwater kelp, keep the bottom kelp planted and provide a collection/storage path on the contraption.
- Sugar cane: plant next to water and leave the lowest cane. Place harvesting at the height you actually want removed.
- Bamboo: leave planting stock and growth room. Check the exact Saw recipe before routing bamboo blocks into planks.
Kelp is used by both Algal Blend and slime production. Split or buffer it before processing. Growth often limits a farm before the Harvester's speed does.
Everyday farms and food
- Egg collection: keep a small group of adult chickens above a hopper feeding a chest. The eggs are collected automatically; hatching and expanding the flock remain separate choices. Start with a few birds before adding more entities.
- Pumpkins and melons: a vanilla observer/piston lane can break the produced fruit while leaving the stem. Send drops toward a hopper collection path. Test the sensor direction with one plant first.
- Bone meal: feed compostable surplus such as seeds into a composter from above and extract bone meal below with hoppers. Keep planting stock first. The pack also offers renewable Limestone → Millstone → bone meal.
- Basic animals: start with manual breeding and a clear collection/storage routine for wool, milk or drops. A collector handles dropped items; it does not automatically breed or shear animals. Add automation only when the relevant machine and interaction are available.
- Food processing: reserve raw wheat for slime and planting supplies before milling surplus for food recipes. Choose smoking rather than a blasting airflow when the native food recipe calls for it.
These small vanilla systems are useful before the workshop is large. A compact field and a visible buffer are easier to maintain than an oversized farm with no destination for its output.
Renewable stone: foundation, drill, destination
T&K3 changes lava/water stone generation using a foundation. The vertical order is generated stone → lens block → matching frame. The lens and frame stay in place. A generation event creates the selected stone; putting a lens below an existing rock does not convert that rock.
- Build a small normal lava/water generator with a safe collection cell.
- Under the intended stone cell, place the chosen lens, then the required frame one block further down.
- Use a powered Mechanical Drill pointing into the generated stone. Protect the lens and frame from the drill path.
- Collect the drops with a hopper or a belt/funnel route. Add storage before milling or crushing.
- Keep one output branch as building stone; send the material branch into the selected processor.
The foundation — read from top to bottom
| Vertical position | Block | Function |
|---|---|---|
| TOP — GENERATION CELL | Selected stone | Lava/water contact creates the stone; the Drill faces this cell |
| ONE BLOCK BELOW | Selector lens | Chooses the resource route |
| TWO BLOCKS BELOW | Required machine frame | Enables that foundation tier |
Keep the drill aligned with the generation cell. The lens and frame are permanent foundation blocks, outside the breaking path.
| Stone | Lens | Foundation / tier | Millstone yield | Crushing yield |
|---|---|---|---|---|
| Andesite | Polished Andesite | Rotation Machine · 1 | 1 × Clay Ball | 2 × Clay Ball |
| Diorite | Quartz Block | Rotation Machine · 1 | 1 × Quartz | 2 × Quartz |
| Granite | Bricks | Rotation Machine · 1 | 1 × Lapis Lazuli | 2 × Lapis Lazuli |
| Limestone | Calcite | Rotation Machine · 1 | 1 × Bone Meal | 2 × Bone Meal |
| Scoria | Netherrack | Precision Machine · 3 | 1 × Redstone | 2 × Redstone |
| Scorchia | Blackstone | Precision Machine · 3 | 1 × Coal | 2 × Coal |
| Veridium | Copper Block | Hydraulic Machine · 2 | 3 × Copper Nugget | 1 × Crushed Raw Copper → wash → 9 × Copper Nugget |
| Crimsite | Iron Block | Hydraulic Machine · 2 | 3 × Iron Nugget | 1 × Crushed Raw Iron → wash → 9 × Iron Nugget |
| Asurine | Zinc Block | Precision Machine · 3 | 3 × Zinc Nugget | 1 × Crushed Raw Zinc → wash → 9 × Zinc Nugget |
| Ochrum | Gold Block | Precision Machine · 3 | 3 × Gold Nugget | 1 × Crushed Raw Gold → wash → 9 × Gold Nugget |
| Osmium Ore | Quartz Block | Steel Casing · 5 | — | Check native ore processing in JEI |
| Tin Ore | Copper Block | Steel Casing · 5 | — | Check native ore processing in JEI |
| Lead Ore | Iron Block | Steel Casing · 5 | — | Check native ore processing in JEI |
| Uranium Ore | Glowstone | Steel Casing · 5 | — | Check native ore processing in JEI |
| Fluorite Ore | Calcite | Steel Casing · 5 | — | Check native ore processing in JEI |
| Netherrack | Nether Bricks | Precision Machine · 3 | Check native processing in JEI | Check native processing in JEI |
| Blackstone | Polished Blackstone | Precision Machine · 3 | Check native processing in JEI | Check native processing in JEI |
The table's generation tier is the foundation requirement. Crushing Wheels themselves require tier 3, even when a stone's foundation is available earlier. Metal stones become crushed raw metal when crushed, then wash into nine nuggets. For earlier production, mill the metal stones into three nuggets. Nine nuggets make one ingot.
Open all generator foundations · Explore processing recipes
Fans: washing, haunting and safe outputs
Put an Encased Fan behind the relevant processing medium and send its airflow across the items. Depots are a convenient first test; belts can carry a continuous line once the process works. Keep the washing and haunting lanes separate.
- Washing: fan → water → items. The pack includes sand → clay and washing for crushed geological metals.
- Haunting: fan → soul fire → items. The current material route turns Chromatic Compound into Shadow Steel. Iron's Arcane Essence also has an Ars Imbuement route at tier 6.
- Smoking / blasting: native Create fan processes use their respective heat medium. Look up the actual input before choosing the process, especially for food.
Increasing fan RPM extends airflow reach; it does not directly reduce the processing time. If items pass too quickly, slow the belt, hold them on a depot, or extend their time in the airflow. Filter extraction so unprocessed inputs do not leave too early.
Start renewable Iron with gravel washing, then expand into the Crimsite selector once Hydraulic infrastructure is working. Andesite Alloy uses Algal Blend in this pack; follow the catalogue for its exact recipe.
Mechanism lines: supply each ordered station
The current sequences include Deployers, Presses, Saws and Spouts, with one, two or three passes depending on the recipe. Ingredient quantities in the visual workshop include every consumed pass. Keep reusable Wrench, Boot Medium and focus items in their station.
Your first Rotation line
Feed one wooden slab. Apply an Andesite Alloy Sheet, apply a Cogwheel, press the unfinished mechanism, then apply a retained Create Wrench. Repeat that pass twice. One completed Rotation Mechanism therefore consumes two sheets and two Cogwheels; the Wrench stays.
Craft the first Press and Deployer from manually made Rotation Machines before this sequence. Build separate casing and assembly lines, and supply their outputs to the full machine constructor shown in the catalogue.
Sealed starter construction
Sealed assembly needs Empty Tubes and Spout filling. Compact six Glass Panes plus two Iron Sheets into four tubes using the early Press/Basin. The Spout and Pump use a Rotation Machine, with early pipes compacted from two Copper Sheets and one Copper Ingot. These routes remove the earlier construction cycles; see the repair results.
Slime and fluids: no pump needed for the first batch
Tier 2 recipe: one kelp + one wheat + 250 mB water in a Basin under a Mixer → two slimeballs. No heat is required. Fill the first basin with a water bucket before you have pumps.
For a continuous line, connect a water supply with the Hydraulic-tier fluid machines, keep kelp and wheat in separate buffers, and extract slimeballs without exporting the unprocessed inputs. Watch the basin: missing water, a stopped Mixer or the wrong crop item can each make the line appear stuck.
A wheat mill produces flour, which is a different item and does not satisfy this slime recipe. Route raw wheat to slime before the remainder goes to food processing.
Brass and smart logistics
Tier 3: copper ingot + zinc ingot → heated Mixer → two brass ingots. Capture a blaze in a native Blaze Burner and supply fuel for the required heat. Mine the first zinc instead of waiting for an advanced renewable line.
Precision starts with a Sealed Mechanism. Each pass applies Brass Sheet, Electron Tube and Golden Sheet, then cuts and presses the unfinished mechanism. Two passes finish one result. Precision Machines supply later crafters and smart logistics.
For repeatable cutting, set the Saw's output filter. For multiple branches, plan a destination for every possible item and leave a visible buffer where problems can be spotted.
Source and arcane automation
Early Ars Source infrastructure can support the Calculation era. Grow crops near an Agronomic Sourcelink and buffer Source in Jars. Build the actual apparatus recipe, then distinguish the central reagent from pedestal materials and the Source cost.
The Arcane Mechanism is tier 6. Its two-pass mechanical intermediate uses Amethyst Tube, Arcane Sheet, XP, cutting and pressing; an Ars apparatus operation finishes it with Source Gem, Manipulation Essence, Iron's Arcane Essence and another Arcane Sheet. The new Imbuement recipe turns one Amethyst Shard into two Iron's Arcane Essence for 2,500 Source, with a retained Source Gem pedestal.
Store Source and inputs before repeated operation. Use the reviewed recipes for Ars/Wizardry materials; a generic Arcane Machine is an old registered frame and does not establish the new route.
FE: extend the workshop, keep the early lines
Tier 5 unlocks Mekanism. Build its first materials from the Precision infrastructure, with the initial Osmium batch as a seed. The basic circuit has an explicit mechanical bootstrap: Osmium receives Redstone and an Electron Tube. This avoids needing an already powered Metallurgic Infuser for the first circuit.
The current Infuser constructor uses an Inductive Mechanism together with Steel Casing, Iron, Redstone and Osmium. Supply FE and the required infusion material when processing. A Steel Casing beneath the relevant lens enables the five renewable Mekanism ore selectors. Their source blocks are not consumed by normal generation. The repaired PRC, Separator and Rotary constructors use Inductive; Chemical Infuser and Osmium Compressor use Arcane. Starter chemistry therefore precedes the Singularity mechanism. See the production review.
AE2 belongs to Calculation at tier 4. Its processors are mechanically printed/assembled using retained presses and Boot Medium. Chemistry and retained focus production belong to tier 7, containment to 8 and SPS/Antimatter to 9. Check the complete current paths and review before treating a late factory as reachable.
A reliable factory checklist
- Test one input and watch it reach the final storage.
- Check both the recipe unlock and the physical machine setup.
- Give every drop, by-product and unfinished item a destination.
- Keep tools, saplings, seeds and reusable catalysts out of blanket extraction.
- Leave a buffer before a slow or intermittent process.
- Stop or throttle production when storage fills; avoid piles of loose entities.
- Expand a working lane before adding several untested processes at once.
- On servers, build within the normal loaded area. Moving a machine or claiming a chunk does not by itself promise that it stays active while nobody is nearby.
Find the bottleneck
| Symptom | Check first |
|---|---|
| Entire branch stopped | Rotation, stress capacity and Clutch state |
| Deployer waits | Held item, filter, target spacing and current sequence step |
| Mixer never runs | Basin contents, rotation, correct Mixer placement and heat when required |
| Farm rotates but stores nothing | Glued inventory, Harvester/Saw facing and valid target |
| Interface does not dock | Facing, one/two-block gap and redstone on the stationary interface |
| Tree farm stops replanting | Sapling filter, planting stock and unfiltered unloading |
| Pickup misses nearby drops | Contact pickup versus Magnet collection |
| Items bypass processing | Extraction filter and time in the processing area |
Watch a layout, use the pack recipe
These videos are supplementary layout examples, not T&K3 recipe instructions. The crop tutorial explicitly targets 1.20.1; the Mechanical Saw tutorial is an older Create tutorial. Compare placement with current in-game Ponder before building, and use this site's recipes for costs and processing.
Mechanical Saw tree farm
Older Create tutorial. A visual introduction to cutting and replanting layouts.
Watch on YouTubeAutomatic crop farm
1.20.1 layout example. Observe the moving arm and unloading concept; T&K3 costs differ.
Watch on YouTubeReferences and pictures
Pack costs and chapter availability come from the current T&K3 recipe and quest data. Native block behaviour was checked against the authors' 1.21.x sources:
- Create: Harvesters, interfaces and docking
- Create: Saws, cutting and output filters
- Create: Deployers and contraption supply
- Create: fan processing and RPM
- Sophisticated Storage: author description, upgrades and gallery
- Sophisticated Storage: native Hopper Upgrade recipe
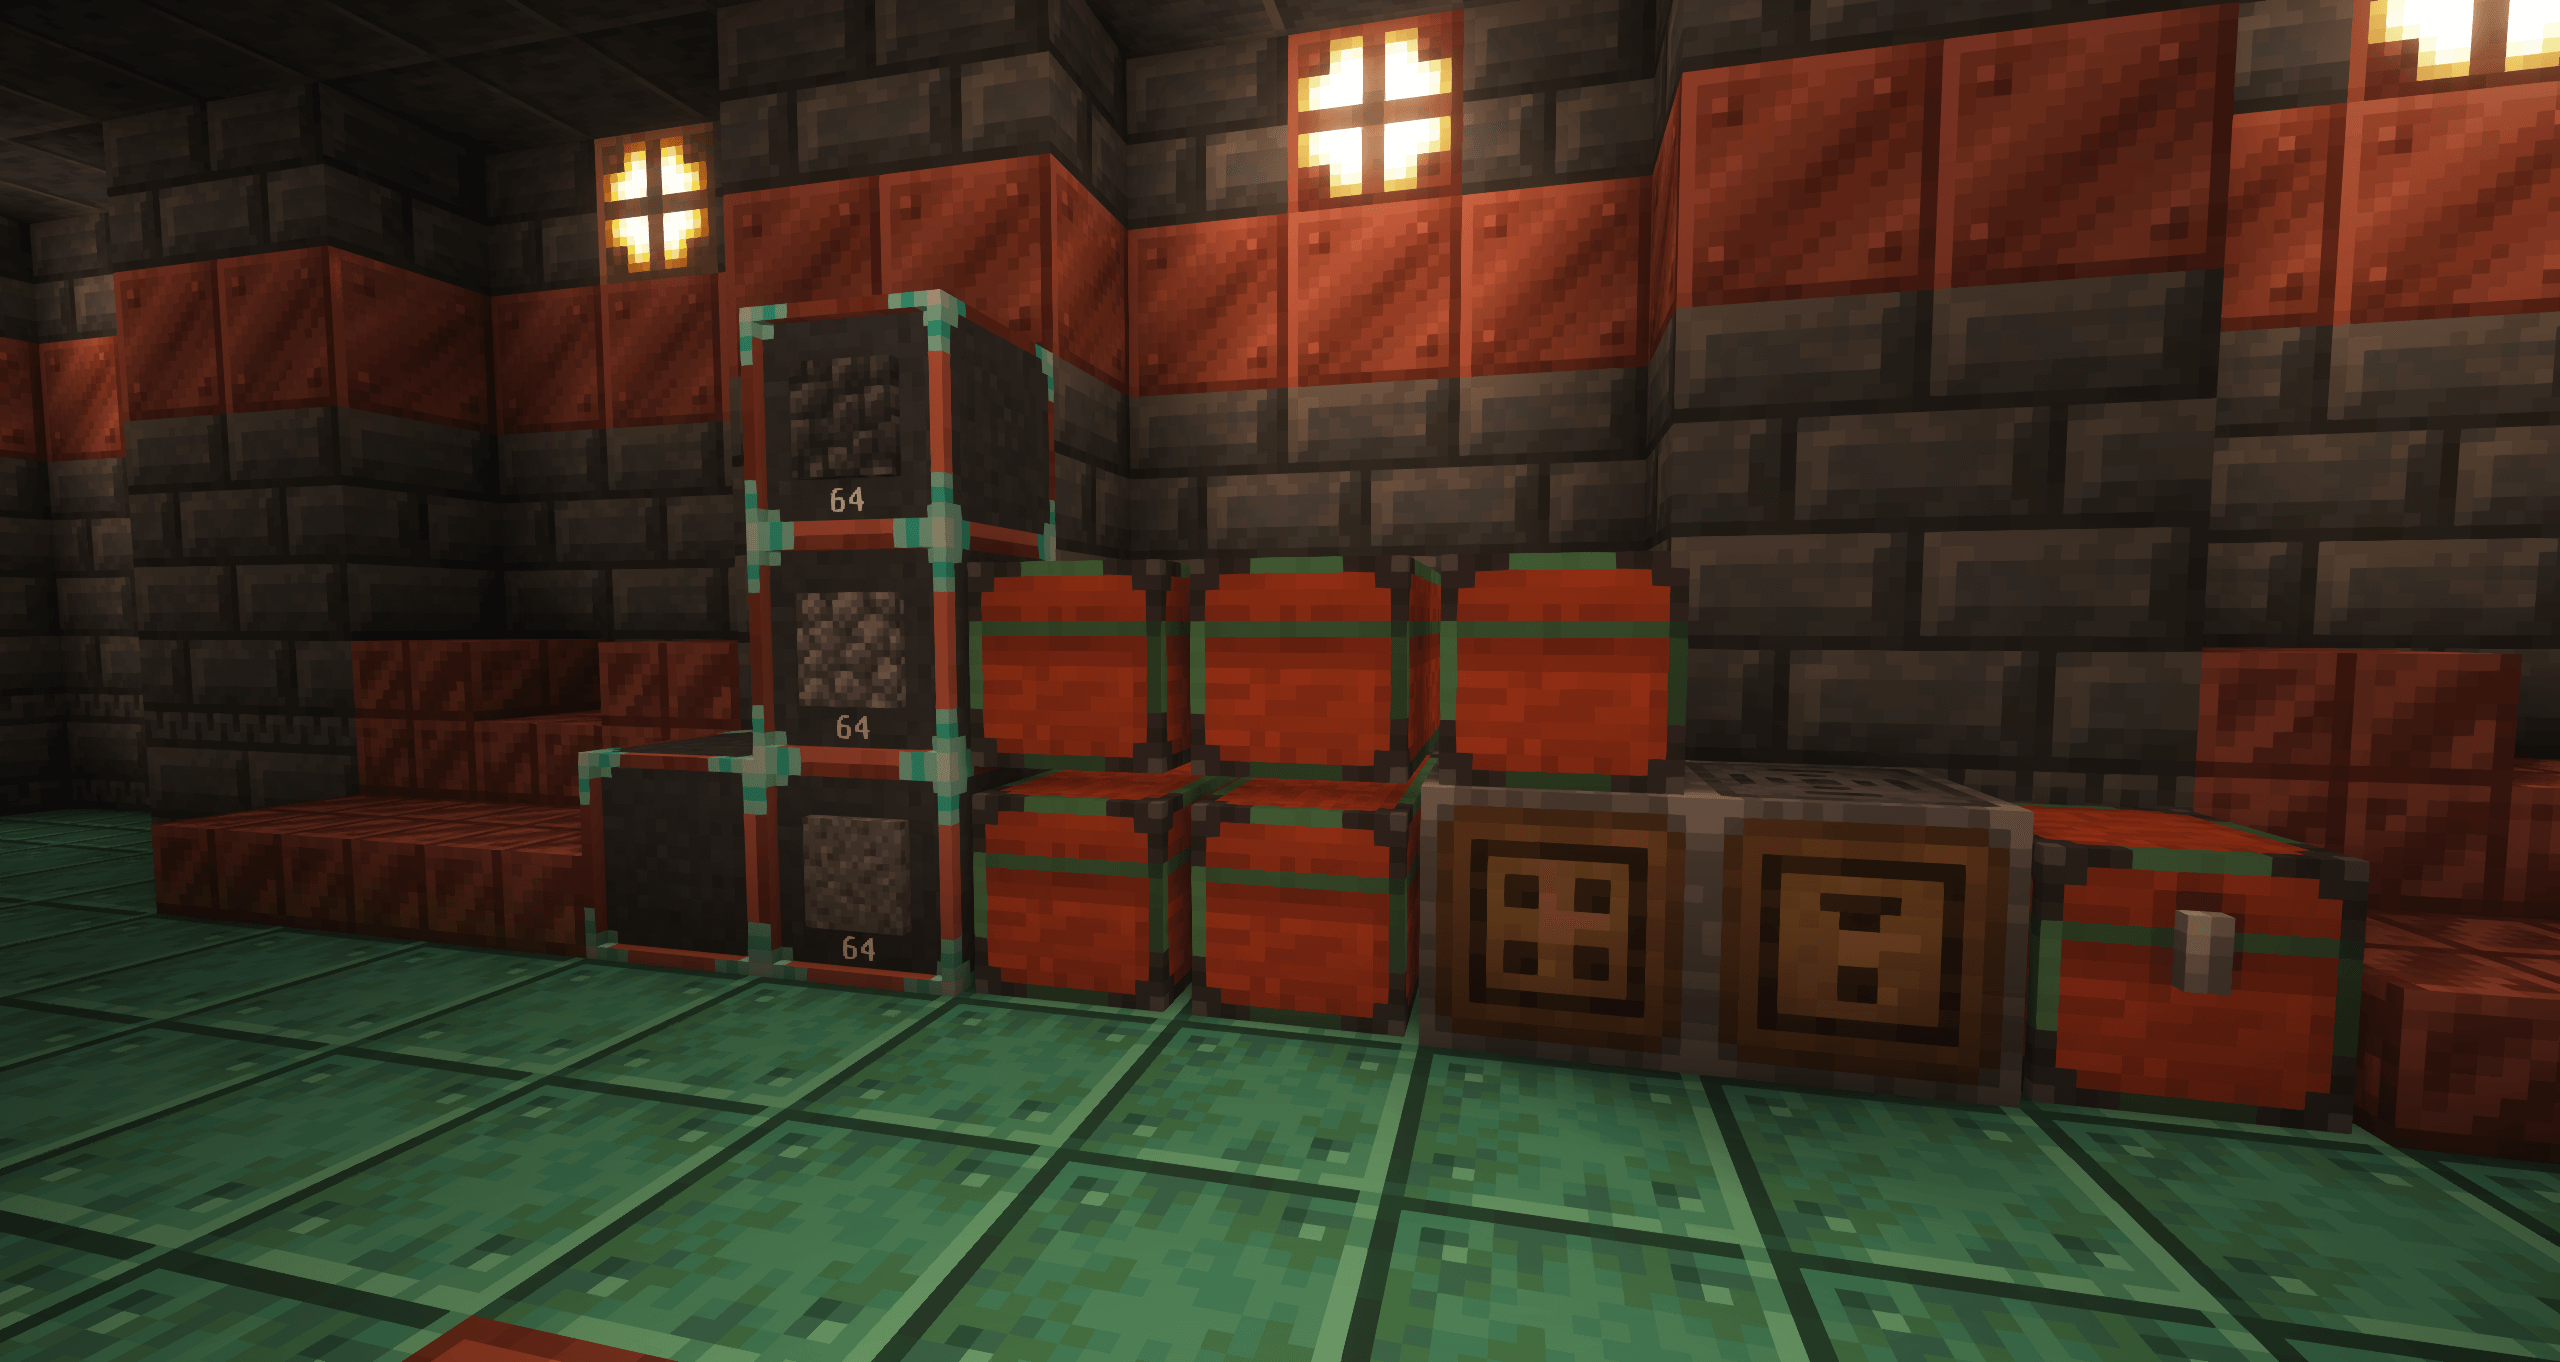
Use the height tables, component lists and first-test steps above to check your build. The recipe workshop shows the pack’s ingredients and operation order; hold W over supported Create items for the in-game placement demonstrations. The storage photo is an example from P3pp3rF1y's official gallery.