
Handbook / Basics
Getting started
Set up the pack, follow The Story to your first Makeshift Mechanism, and start building a Create workshop.

Install the pack and start a world
- Install Towns & Kingdoms 3. In the CurseForge app, go to Minecraft → Browse → Modpacks and search for Towns & Kingdoms. Install the Beyond the Forge build for your release if it’s listed. If you have the pack ZIP, you can import it as a new profile.
- Launch your profile. Check the Java FAQ if the launcher asks you to pick a runtime. Create a singleplayer world, or match the server’s pack build before joining multiplayer.

Open the quest book
- Open your inventory with E by default. Click Quests in the lower-left FTB sidebar.
- Open Town Square → The Story and check off A New Beginning. Claim its eight hamburgers, then look under Forging Ahead for Chapter I | Getting Started.
- Open completed quests to claim their rewards. To set a shortcut, find Open Quests under FTB Quests in Options → Controls → Key Binds.
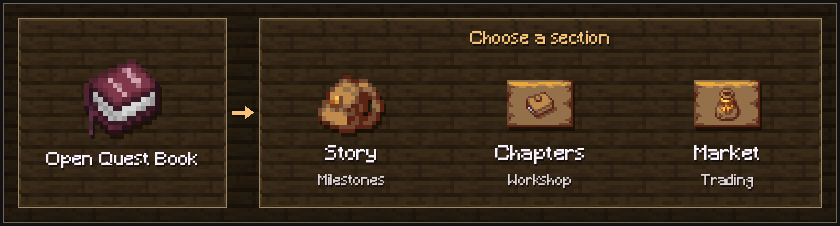
Open the full in-game tutorial for chapter milestones, claims and travel.

Chop wood and set up camp
- Make a crafting table. Break your first logs by hand. Turn some into planks, sticks and a crafting table.
- Make stone tools. Craft a wooden pickaxe and mine cobblestone. Use it to make a stone pickaxe, axe and shovel for your first material run.
- Set up camp. Put down a chest and, once you have wool, a bed. Keep some food and a few whole logs for Chapter II.
 Punch a log
 Make planks
 Make a crafting table
For an Andesite Casing, right-click a placed log with an axe to strip it, then apply Andesite Alloy.

Gather andesite and clay
- Mine andesite. Look for speckled gray patches in exposed stone, especially on hillsides and in shallow caves. Bring a pickaxe.
- Dig for clay balls. Look for smooth blue-gray clay on riverbeds and in shallow water. Break it with a shovel.
- Craft Andesite Alloy. Use the 2 × 2 inventory grid. Each Makeshift Mechanism takes four Andesite Alloy.Inventory crafting


 1 Andesite Alloy
- Finish Chapter I. Craft your Makeshift Mechanism by hand at a crafting table with four Andesite Alloy, four wooden slabs and one iron ingot. Check Making Do for the objective, then return to The Story for the chapter milestone.
- Start your Create workshop in Chapter II. For Welcome to the Machine!, surround one Andesite Casing with eight Makeshift Mechanisms at a crafting table. Check JEI for the recipes in your installed build.
Hover over an item in JEI and press R for recipes or U for uses. Use the workshop build guides when you’re ready to put your machines to work.

Build your first Identifier
 |  | |
|  | |
| | |
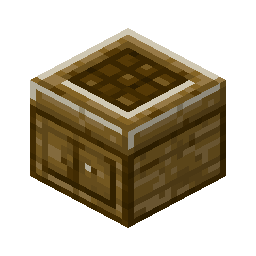 1 Identifier
- Place the Identifier, right-click it and put up to seven unidentified equipment tokens in the input slots.
- Check the cost in vanilla XP points, confirm and collect the revealed gear from those slots.
- Compare the stats and affixes before equipping or salvaging it.
See Loot & Appraisal for loot sources, salvage and the Mechanical Identifier.

Read levels and spend skill points
Your level
 Mikaaah

Earn character XP to level up.
Enemy levels
 Zombie
Regular mobs spawn within 4 levels of the nearest player.
 Wither
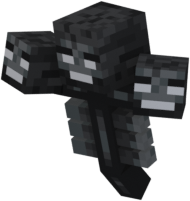
Bosses use their minimum level or the nearest player’s level +10, whichever is higher.
Higher-level enemies have more health and hit harder.
- Character XP comes from activities such as fighting, mining natural blocks, farming, fishing and exploring. Level up to earn skill points. Your starting level cap is 10, and XP pauses at the cap until you raise it through the campaign.
- Vanilla XP is the green experience bar. You spend it at the Identifier and on enchanting.
- Open Character with I by default or click your portrait in the survival inventory. Check your progress, choose an Origin and spend points in the skill tree.
- Enemy level badges appear above scaled mobs. Enemies keep the level they spawn with.
See Levels & Origins for XP and level caps, or try a route in the skilltree planner.

Practice with your first weapon
Check your weapon’s grip and moveset in the weapon registry. Try regular, sprinting and aerial attacks on safe terrain so you know their reach before taking on a dungeon.
Learn Epic Fight attacks, weapon skills, parrying and automatic combat switching in the combat tutorial.